
Table of Contents
Nail Artistry Unleashed: Tips for Stunning Nail Designs
Nail art is a great way to express your personality and style. It can also be a fun and creative way to add a little bit of flair to your everyday look. If you’re new to nail art, or if you’re looking for some new ideas, here are a few tips to help you get started:
1. Choose the right colors and shapes for your nails.
The colors and shapes you choose for your nail art will depend on your personal style and the occasion. If you’re going for a more subtle look, you might choose neutral colors and simple shapes. If you’re feeling more adventurous, you might try bright colors, intricate designs, or even 3D nail art.
2. Use the right tools and materials.
There are a variety of tools and materials that you can use to create nail art. Some of the most common tools include:
- Nail polish
- Nail art brushes
- Nail art stickers
- Nail art gems
- Nail art glitter
3. Follow step-by-step instructions.
If you’re new to nail art, it can be helpful to follow step-by-step instructions. There are a number of resources available online and in books that can help you get started.
4. Practice makes perfect.
The more you practice nail art, the better you’ll get at it. Don’t be discouraged if your first few attempts aren’t perfect. Just keep practicing and you’ll eventually be able to create stunning nail designs that you’ll love.
5. Have fun!
Nail art is meant to be fun, so don’t be afraid to experiment and try new things. The best way to learn is by doing, so don’t be afraid to make mistakes. Just have fun and enjoy the process.
Here are a few additional tips for creating stunning nail designs:
- Start with a clean, dry nail bed.
- Apply a base coat to protect your nails.
- Apply two coats of nail polish, allowing each coat to dry completely before applying the next.
- Use a top coat to seal in your design and protect it from chipping.
With a little practice, you’ll be able to create stunning nail designs that will turn heads wherever you go.
| Feature | Answer |
|---|---|
| Nail art | The art of decorating fingernails and toenails |
| Nail design | A specific type of nail art that involves creating a specific design on the nails |
| Nail art tutorial | A step-by-step guide on how to create a specific nail art design |
| Nail art inspiration | A source of ideas for new nail art designs |
| Nail art tips | Advice on how to create stunning nail designs |
II. Types of nail art designs
There are many different types of nail art designs that you can create, from simple and elegant to complex and intricate. Some of the most popular types of nail art designs include:
- French manicure
- Ombre nails
- Negative space nails
- Drip nails
- Glitter nails
- Marble nails
- Animal print nails
- Geometric nails
- 3D nails
You can find inspiration for nail art designs by looking online, in magazines, or in nail art books. You can also experiment with different colors, shapes, and techniques to create your own unique nail art designs.

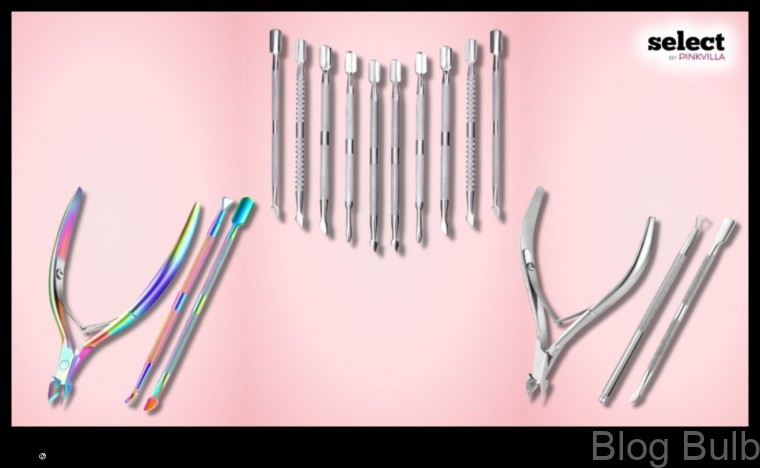
III. Tools and materials needed for nail art
The following are the basic tools and materials needed for nail art:
- Nail polish in a variety of colors
- Nail art brushes
- Nail art dotting tools
- Nail art tape
- Nail art gems
- Nail art glitter
- Nail art decals
- Nail art stencils
In addition to these basic tools and materials, you may also want to invest in some more advanced tools and materials, such as:
- A UV light and gel nail polish
- A nail drill
- A nail file
- A cuticle pusher
- A nail buffer
With the right tools and materials, you can create stunning nail art designs that will turn heads wherever you go.
IV. Step-by-step instructions for creating nail art designs
Here are step-by-step instructions for creating your own nail art designs:
- Choose a base color for your nails. This could be any color you like, but it’s best to choose a color that will complement the other colors you’ll be using in your design.
- Apply a base coat to your nails. This will help to protect your nails from the polish and make it easier to remove later.
- Apply two coats of your chosen nail polish color. Make sure to let each coat dry completely before applying the next one.
- Create your design using nail art tools and materials. You can use a variety of different tools and materials to create your design, such as nail polish, nail art brushes, stamps, and stencils.
- Seal your design with a top coat. This will help to protect your design and make it last longer.
Once you’ve created your nail art design, you can enjoy showing it off to everyone!

V. Tips for beginners
Here are some tips for beginners who are just starting out with nail art:
- Start with simple designs. Don’t try to create intricate designs right away. Start with simple designs, such as stripes or dots, and work your way up to more complex designs.
- Use quality tools and materials. Using good quality tools and materials will make a big difference in the quality of your nail art.
- Practice makes perfect. The more you practice, the better your nail art will become.
- Don’t be afraid to experiment. There are no rules when it comes to nail art. Experiment with different colors, shapes, and designs.
- Have fun! Nail art is supposed to be fun. Don’t take yourself too seriously and enjoy the process.
VI. Mistakes to avoid when doing nail art
When doing nail art, there are a few common mistakes that people make that can ruin the finished look. Here are a few tips to avoid making these mistakes:
- Don’t use too much polish. Applying too much polish can make your nails look thick and chunky.
- Don’t use too many colors. Using too many colors can make your nails look cluttered and messy.
- Don’t over-do the details. Adding too many details can make your nails look too busy and distracting.
- Don’t rush the process. Taking your time and doing each step carefully will help you create a more polished look.
By avoiding these common mistakes, you can create stunning nail art designs that will turn heads wherever you go.
VII. How to keep your nail art looking its best
Once you have created your nail art masterpiece, you want to make sure it stays looking its best for as long as possible. Here are a few tips for keeping your nail art looking its best:
- Apply a topcoat to protect your nail art from chipping and smudging.
- Avoid using your nails as tools, such as opening cans or picking up objects.
- Be gentle when washing your hands, and avoid using hot water or harsh soaps.
- If your nail art starts to chip or smudge, you can try to touch it up with a little bit of nail polish remover.
- If your nail art is really damaged, you can always remove it and start over.
By following these tips, you can help your nail art look its best for longer.
Where to find inspiration for nail art designs
There are many places to find inspiration for nail art designs. Here are a few of the best places to start:
- Online nail art galleries
- Social media (e.g., Instagram, Pinterest, Facebook)
- Nail art magazines
- Nail art books
- Nail art tutorials
When looking for inspiration, it is important to keep in mind your personal style and preferences. What colors do you like? What shapes do you like? What kind of designs do you like? Once you know what you are looking for, you can start to narrow down your search.
Here are a few tips for finding inspiration for nail art designs:
- Take a look at your favorite fashion magazines and websites for inspiration.
- Look at the nails of celebrities and influencers for inspiration.
- Visit nail art galleries and salons for inspiration.
- Watch nail art tutorials on YouTube and Instagram for inspiration.
With a little bit of research, you can find plenty of inspiration for nail art designs that you will love.
How to make your own nail art designs
Nail art is a great way to express your creativity and individuality. You can create your own unique designs using a variety of tools and materials. Here are a few tips for getting started:
- Choose a base color for your nails. You can use a solid color or a textured polish.
- Use a thin brush to create your design. You can use a variety of different techniques, such as stamping, painting, or stenciling.
- Add embellishments to your design, such as glitter, beads, or rhinestones.
- Seal your design with a top coat to protect it from chipping.
Here are some additional tips for creating your own nail art designs:
- Practice makes perfect! The more you practice, the better your nail art will look.
- Don’t be afraid to experiment with different colors and designs.
- Have fun! Nail art is a great way to express yourself.
With a little creativity and effort, you can create stunning nail art designs that will turn heads wherever you go.
FAQ
Q: What are the different types of nail art designs?
A: There are many different types of nail art designs, including:
- French manicure
- Ombre nails
- Negative space nails
- Drip nails
- Marble nails
Q: What tools and materials do I need for nail art?
A: You will need the following tools and materials to create nail art designs:
- Nail polish
- Nail art brushes
- Dotting tools
- Striping tape
- Sponges
Q: How do I keep my nail art looking its best?
A: Here are a few tips for keeping your nail art looking its best:
- Apply a base coat before applying nail polish.
- Use a top coat to seal the nail polish.
- Avoid using your nails as tools.
- Keep your nails moisturized.
- Reapply your nail art every few days.
Maybe You Like Them Too
- How to Detangle Curly Hair Without Damaging It
- Sole Mates A Guide to Finding the Perfect Shoes for Every Outfit
- Beauty Beyond Borders When Fashion and Makeup Collide
- 50 Chic Wedding Hairstyles for the Modern Bridesmaid
- The Best Shampoos for Hair Extensions A Guide to Keeping Your Extensions Healthy

